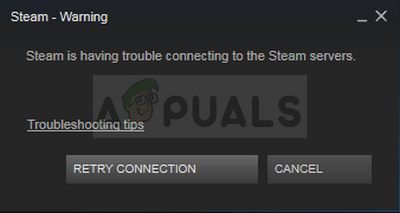
Steam Server Error
This Steam-related trouble appears after trying to log into your Steam account on the Desktop version of the app, but after yous input the login info or afterward the auto-login process has started. The problem is a very serious one as multiple users oasis't been able to access the Steam customer at all for a couple of days.
Before moving on with the solutions, brand sure Steam servers are non downwards. Too, log-in to the Steam website and if it logs in fine, then you are not banned from Steam. Moreover, power off your system and network equipment, disconnect all the peripherals (mouse, keyboard, monitor and etc.) and so power on and connect the keyboard and mouse when required and after the organisation has started, check if the trouble is solved. Also, attempt to utilize Steam in offline mode and then switch to online mode to solve the problem.
Many different solutions to the problem emerged after a while and we have chosen the solutions which have helped the most users and presented them to you in a detailed article. Follow the instructions and hopefully, you will resolve the trouble!
What Causes the "Steam is having problem connecting to the Steam servers – Could Non Connect to Steam Network" Error Message in Steam customer?
- Diverse broken or misconfigured Internet connection settings which tin be resolved with simple commands in administrative CMD
- Administrator permissions being required by the Steam executable in society to solve permissions/networking problems
- UDP protocols may not be a adept affair to use to try forcing TCP protocols
i. Reset WinSock
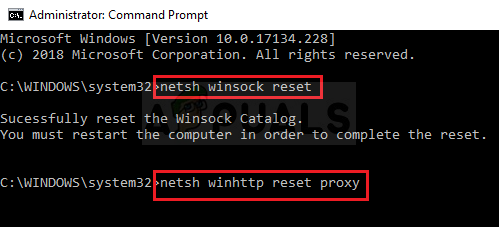
"netsh winsock reset" is a helpful command that you can apply in Command Prompt to reset winsock catalog dorsum to default setting or its make clean country. You tin try this method if you are experiencing the "Steam is having trouble connecting to the Steam servers" when trying to launch and login into Steam.
- Search for "Control Prompt" past typing it either right in the Start menu or by pressing the search push right adjacent to it. Correct-click the first entry which volition pop up as a search result and select the "Run equally administrator" context carte entry.
- Additionally, you can also use the Windows Logo Key + R key combination in social club to bring upward the Run dialog box. Type in "cmd" in the dialog box which appears and utilize the Ctrl + Shift + Enter key combination in order to run Command Prompt using administrator privileges.
- Type in the following command in the window and make sure you press Enter later typing it. Await for the "Winsock reset completed successfully" bulletin or something similar to know that the method has worked and you haven't made whatsoever mistakes while tying.
netsh winsock reset netsh int ip reset reset.log hit
- Bank check to see if you yet struggle with bug regarding your Steam problems.
ii. Run Steam as Administrator
Running anything with ambassador permissions is sure to provide some help for enough of errors and this one is not different. Just running the Steam client every bit an ambassador may be enough for you to terminate seeing the annoying mistake once and for all.
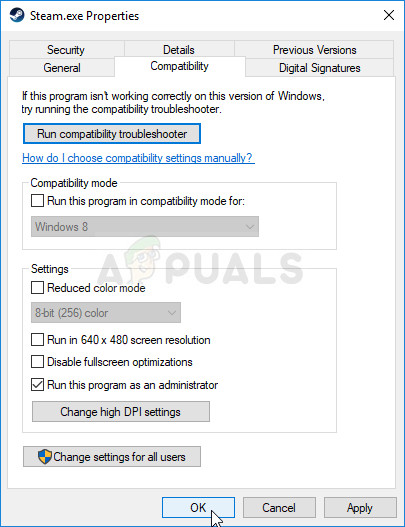
- Locate the Steam shortcut or executable on your figurer and open its backdrop it by correct-clicking its entry either on the Desktop or the Commencement bill of fare or the Search results window and choose Backdrop from the pop-up context card.
- Navigate to the Compatibility tab in the Backdrop window and bank check the box next to the Run this program every bit an administrator option before saving the changes by clicking OK or Apply.
- Make sure you lot confirm any dialogs which may appear which should prompt you to confirm the pick with admin privileges and Steam should launch with admin privileges from the side by side startup. Open it past double-clicking its icon and try relaunching the login process to see if the fault still appears.
3. Add an Exception for Steam Executables
The latest Steam update was reported to cause issues with Windows Defender Firewall. If yous take Windows Defender running on your computer, yous might desire to add an exception for the Steam executable in lodge to make it run properly.
- Start up Control Panel by searching for the utility in the Outset button or by clicking the Search button or the Cortana button at the left function of your taskbar (bottom left part of your screen).
- After Control Panel opens, alter the view to Large or Modest icons and navigate to the bottom in club to open the Windows Defender Firewall.
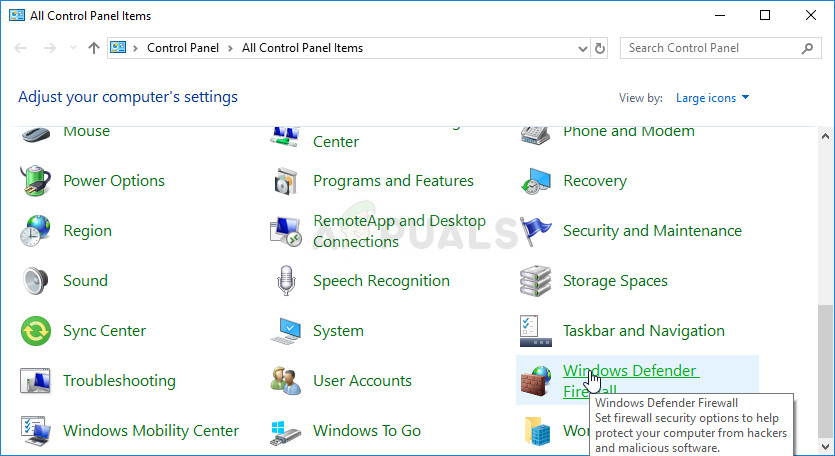
- Click on Windows Defender Firewall and click on the Allow an app or feature through Windows Firewall selection from the left side list of options. A list of installed apps should open up. Navigate to where y'all installed Steam and choose its main executable forth with other executables in the folder.
- Click OK and restart your figurer before retrying the login process later launching Steam.
iv. Add together a Launch Option to the Steam Executable
This specific launch pick '-tcp' will force Steam to use the TCP protocol over UDP. This is non a much pregnant change from the user'southward perspective but information technology has definitely helped users resolve the "Steam is having trouble connecting to the Steam servers" trouble every bit the problem went away after performing the steps beneath:
- Navigate to your Steam installation folder . If you haven't configured whatsoever changes during the process of installation regarding the required installation binder, information technology should exist Local Disk >> Program Files or Program Files (x86).
- However, if you have the Steam program's shortcut on the desktop, you lot tin simply skip the creation of a shortcut in the pace below.
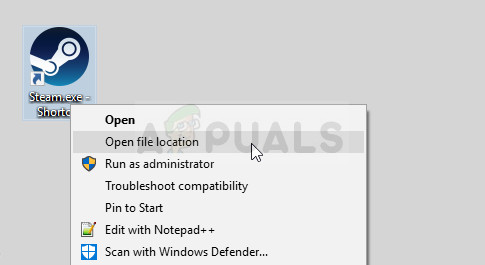
- Locate the exe file in the main folder, right-click on it, and choose to Create a shortcut on Desktop. Navigate to that shortcut, correct-click on it and stay in the Shortcut tab.
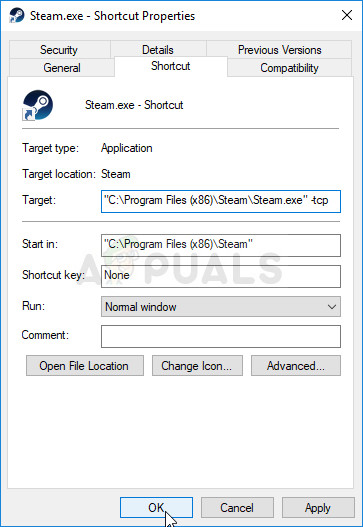
- In the Target area, add a space after the last quotation marker and add '-tcp' earlier clicking OK. Bank check to see if the trouble yet appears.
5. Reinstall Steam
Reinstalling Steam is 1 of the least popular methods and in that location is a reason why information technology's placed so low on our list. The method has solved the problem for so many users but it should be a last resort as there are plenty of simpler methods you lot should effort out before doing this.
- Make sure you lot back up every library folder you wish to preserve on your computer and take note of their proper locations so that you can add them back once Steam is reinstalled.
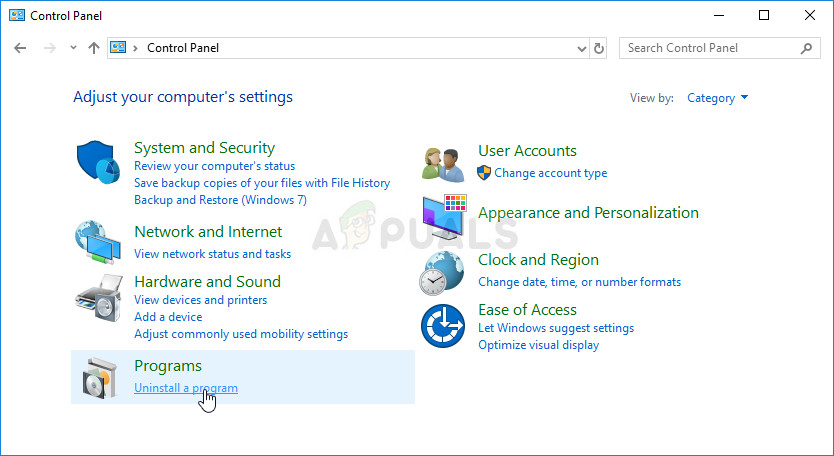
- Click on the Outset menu and open Command Panel by searching for it. Alternatively, you can click on the gear icon in order to open settings if yous are using Windows ten.
- In Control Panel, select to View as: Category at the top right corner and click on Uninstall a Programme nether the Programs section.
- If you are using the Settings app, clicking on Apps should immediately open a listing of all installed programs on your PC.
- Locate the Steam entry on the listing and click on it once. Click on the Uninstall button in a higher place the list and confirm any dialog boxes which may announced. Follow the instructions on-screen in order to uninstall Steam and restart your estimator afterward.
half-dozen. Change Steam'due south Internet Protocol
Steam originally uses the UDP (User Datagram Protocol) for the transmission of data. We can endeavour irresolute information technology to TCP (Transmission Control Protocol). As nosotros all know TCP is more reliable whereas UDP is by and large faster. If we encounter an fault, we can endeavour changing protocols to see if they are the problem.
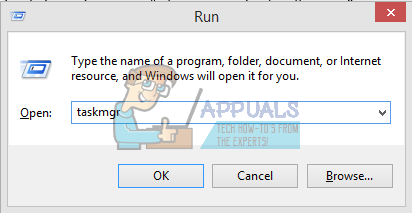
- Launch your Chore Manager by pressing ⊞ Win + R push button. This should pop-upwardly the Run. In the Run box type "taskmgr" to open up the task manager.
Run Task Managing director - End all Steam related processes starting from the procedure 'Steam Client Bootstrapper'.
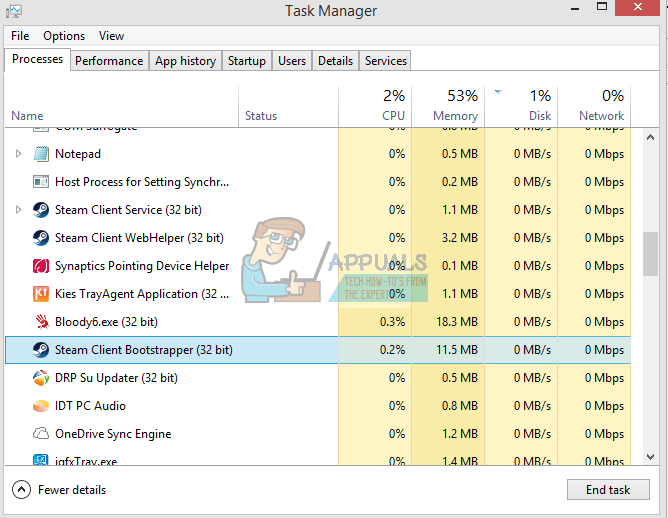
Cease Steam Customer Bootstrapper in Task Manager - Create a shortcut of steam in your steam folder. The default location for your steam folder should be
C:\Programme Files (x86)\Steam
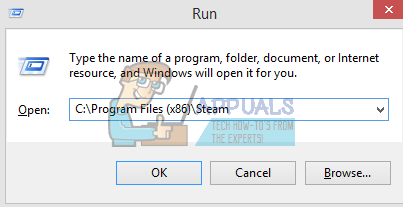
- Printing ⊞ the Win + R push button. This should pop-up the Run application. In the dialogue box write
C:\Program Files (x86)\Steam
Or if you installed Steam in another directory, you tin browse to that directory and y'all can keep with steps mentioned below.
Run C:\Programme Files (x86)\Steam - Now to ensure zero bad happens to your default Steam.exe file, we volition make a shortcut of your steam.exe file and paste it into your steam binder. It should look something like this:
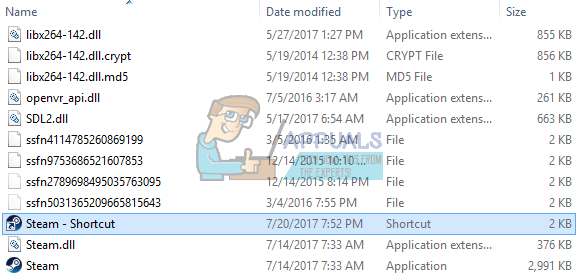
Create a Shortcut of Steam.exe - At present that you've got your shortcut set up, you're going to right-click information technology and get to its properties.
- In the target dialogue box, write "-tcp" in the end. And so the entire line looks like:
"C:\Plan Files (x86)\Steam\Steam.exe" –tcp
Please think to give a space afterward the default line in the target dialogue box.
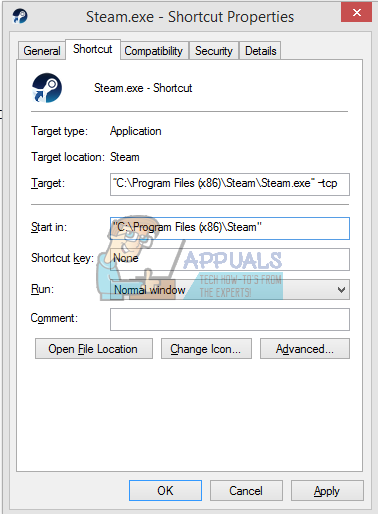
Add -TCP at End of C:\Program Files (x86)\Steam\Steam.exe" in Target box of the Shortcut - Apply the changes and shut the window. Launch Steam using the shortcut and it will work every bit expected.
vii. Delete/Modify ClientRegistry.blob
We can effort and see if ClientRegistry.blob is giving you the problem.
- Completely exit Steam and end all tasks as mentioned in the solution in a higher place.
- Browse to your Steam directory. The default one is
C:\Program Files\Steam
- Locate 'ClientRegistry.blob' '.

Locate ClientRegistry.hulk - Rename the file to 'ClientRegistryold.blob'.
- Restart Steam and allow the file to be recreated.
Hopefully, your Customer will run equally expected. If it nonetheless doesn't work, follow the steps listed below.
8. Troubleshoot the Internet Connection
Earlier re-installing Steam client, nosotros should thoroughly cheque whether our cyberspace connection is working normally or non. Open your browser and see if your computer can connect to the internet normally. Y'all should also check if your network adapter is operation properly. Beneath are the steps to check and verify.
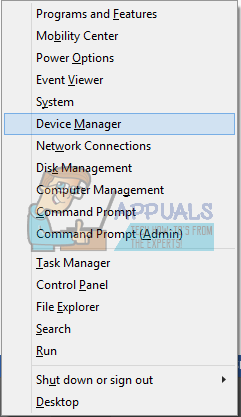
- Press ⊞ Win + X A carte du jour will pop upwards and you lot will select "Device Manager" from this menu.
Open Device Managing director - A window will come up forth consisting of different entities. Search for "Network adapter" and expand it. Here y'all volition find your WiFi/LAN adapter along with its official name.
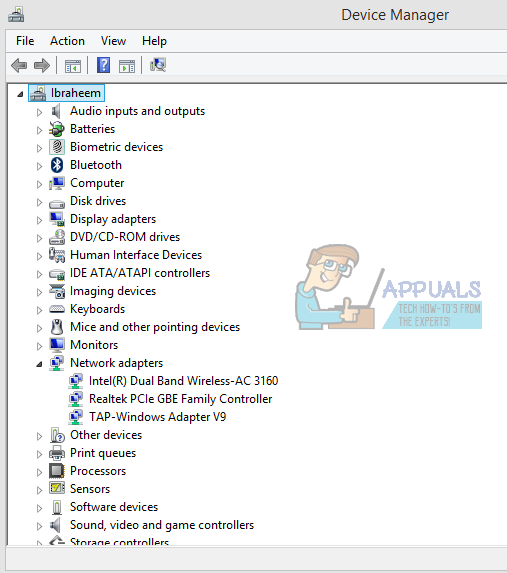
Expand Network Adapters in Device Managing director
- – This icon ways that your network adapter is currently enabled and working as expected.
- – This means that your network adapter is currently disabled. To resolve this consequence, right-click on the network adapter and click "enable".
- To cheque if your network adapter is working properly, right-click on that adapter and select "Properties". Here you will see a window displaying "This device is working properly" if at that place are no issues.
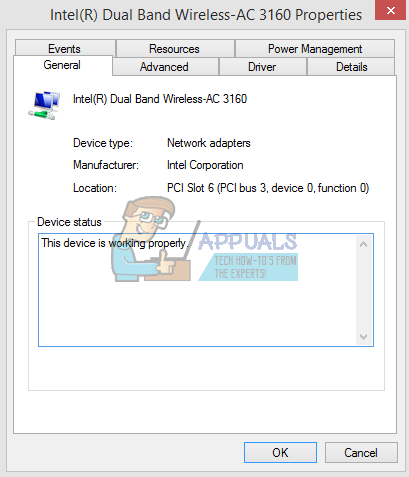
Check Device Status
If the problem persists, we can go along with the troubleshooting. Please notation that if you made any recent changes to your network/wifi settings, you should revert.
Now we will try to reset some network settings. Below are the steps mentioned which will guide you to flushdns etc.
- Printing ⊞ Win + R In the dialogue bar, type "cmd". This should launch the command prompt.
- In the command prompt type the post-obit commands and printing enter later on each line:
ipconfig/release ipconfig/all ipconfig/flushdns ipconfig/renew netsh int ip ready dns netsh winsock reset
- After executing the following commands, restart your figurer and bank check if Steam is running properly.
ix. Update Network Card Driver
Network drivers are the principal components that communicate betwixt the network hardware and the operating system. An outdated/corrupted/not-compliant network driver may cause Steam to show the current error. In that case, updating the commuter to the latest version (or rolling back to the previous version) may solve the problem. You can also try unplugging the network hardware physically after uninstalling the driver and placing information technology back in.
x. Temporarily Disable Antivirus/Firewall
As Steam could not connect to its servers, the problem may exist caused past your antivirus/Firewall that could be blocking the communication betwixt Steam and its servers. In that example, disable your antivirus or turn off your Firewall. These applications commonly block access to Steam'south servers because of a false positive.
Warning: Disable your antivirus/Firewall at your won risk every bit this step will make your system more vulnerable to threats like viruses, malware, and malicious attacks, etc.
11. Use Another Network
Non-communication betwixt Steam and its servers could be caused by your Internet service provider every bit ISPs deploy different techniques to safeguard its users and command web traffic, and in this process can block a vital service for Steam. In that case, using another network may solve the problem. If no other network is bachelor, and so you lot tin can employ your mobile phone's hotspot to rule out this possibility. If you are using a VPN or proxy, and so disable the VPN/proxy and check if Steam is performance properly.
12. Update Windows
Outdated Windows can cause a lot of problems for a user and the cause of error under discussion may already take been rectified in the latest Windows update version. In that case, updating Windows to the latest version may solve the problem. Brand sure that you have an active cyberspace connexion and go along the estimator on till the updates are finished.
- Press Windows primal and blazon updates. And so in the resulting list, click on Check For Updates.
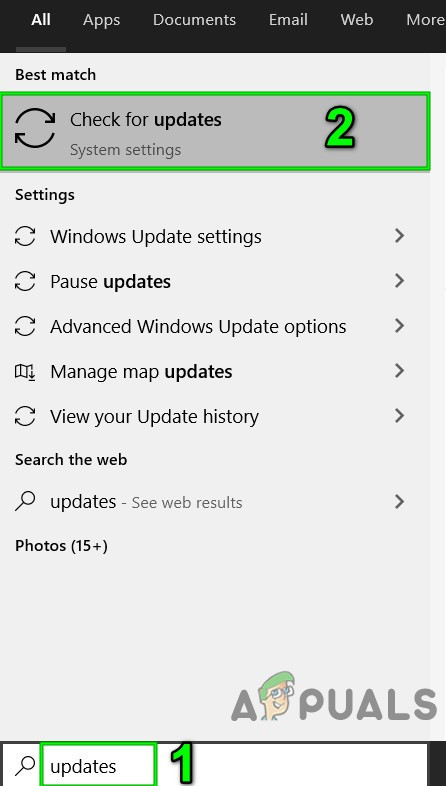
Check For Updates in Windows Search - And then in the updates window, click on Check for Updates.
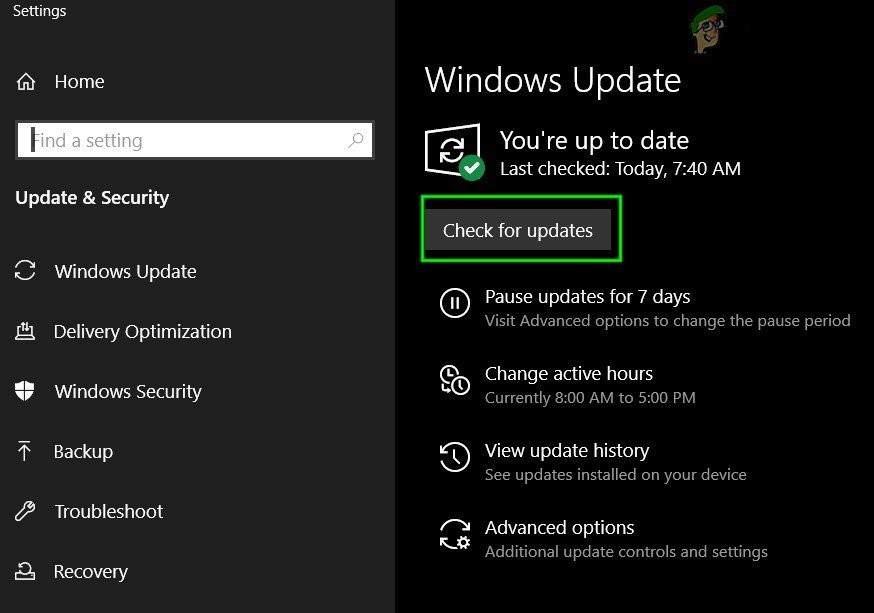
Check For Updates in Windows Update - If whatever updates are available, and so download and install all the updates.
- After updates are installed, cheque if the problem is solved.
13. Rename/Move Some Steam Folders
Corruption of some Steam folders can result in non-communication between Steam and its servers. In that case, renaming these folders might solve the problem instantly. When Steam launches and doesn't discover the required directories that information technology is looking for, it volition automatically create new folders with default values. This volition ensure that nosotros have fresh configuration files and caches.
- Exit all Steam processes.
- Now navigate to the Steam install directory, usually, it is:
C:\Plan Files (x86)\Steam
or yous tin scan to your install directory.
- Now discover the following folders
- userdata
- servers
- Now rename these folders.
- Now navigate to the binder
%steam%\config\htmlcache\
and articulate all its contents.
- At present navigate to the folder
Steam\userdata[your_steam_id]\config\
- Now search for localconfig.vdfand rename it.
- Now launch Steam and check if it is functioning properly.
14. Reinstall Steam Later Deleting Its Files
Leave all Steam applications before starting this solution. Please notation that this won't delete your gameplay data.
- Launch your Task Managing director by pressing ⊞ Win + R button. This should pop-up the Run In the dialogue box write "taskmgr". This should open up the job manager.
- End all Steam related processes starting from the process 'Steam Customer Bootstrapper'.
- Press ⊞ the Win + R button. In the dialogue box write
C:\Program Files (x86)\Steam
Or if y'all installed Steam in another directory, yous can scan to that directory and you will exist expert to go.
- Locate the post-obit files and folders:
Steamapps Folder (This is where all your games are located)
Userdata Folder (This is where the progress of your games is saved)
Skins Folder (This is where your steam skins are located)
Steam.exe Application (This is the launcher for Steam)
Ssfn files They may exist more than than one and each 1 may have a number in front of it (Continue it so you lot don't have to await 7 days for trade cooldown).
- Delete all the other files except the ones mentioned above and launch steam from the launcher. Steam will download some files and update itself. After completing the installation, information technology will prompt y'all to enter your credentials. Later on you lot successfully log in, the client will work every bit expected.
Redownload the Steam client by navigating to this link and run the downloaded executable on your reckoner by locating it in the Downloads folder and double-clicking on information technology. Follow the instructions on the screen in order to install Steam again and check to see if the same trouble appears on your computer again!
![]()
Source: https://appuals.com/fix-steam-is-having-trouble-connecting-to-the-steam-servers/